What is a blending brush?
A blending brush is a type of makeup brush designed specifically for blending various makeup products seamlessly. Its soft, fluffy bristles are perfect for diffusing harsh lines and creating smooth transitions between different shades. Blending brushes come in various shapes and sizes, each tailored for specific makeup tasks, such as blending eyeshadow, foundation, blush, or contour.
Importance of a Blending Brush in Makeup Application
The blending brush is crucial in makeup application because it ensures a polished and professional finish. Without proper blending, makeup can appear streaky, uneven, and unnatural. A good blending brush helps achieve a smooth, airbrushed effect, making the makeup look more cohesive and enhancing the overall appearance. It’s the secret to achieving that flawless, Instagram-worthy look.
Overview of the Guide
This guide covers everything you need to know about blending brushes, from their history and types to the best techniques for different makeup applications. We’ll also discuss how to choose the right blending brush, proper maintenance, and common mistakes to avoid. By the end of this guide, you’ll be well-equipped to master the art of blending makeup like a pro.
History of the Blending Brush
Origin of Makeup Brushes
Makeup brushes have been used for centuries, with the earliest evidence dating back to ancient Egypt and China. These early brushes were made from natural materials like animal hair and bamboo. Over time, makeup brushes evolved in design and materials, becoming more refined and specialized.
Evolution of Blending Brushes
Blending brushes have evolved significantly, from simple tools to highly sophisticated instruments. Initially, makeup brushes were primarily used for applying face powder. However, as makeup techniques became more advanced, the need for specialized brushes, like blending brushes, emerged. Today, blending brushes are an essential part of any makeup kit, designed to create smooth transitions and flawless finishes.
Key Milestones in Blending Brush Development
Key milestones in blending brush development include the introduction of synthetic bristles, which offer a cruelty-free alternative to natural hair. Additionally, the development of various brush shapes and sizes has allowed for more precise and versatile application techniques. Innovations in brush manufacturing have also led to improved durability and performance, making blending brushes more effective and accessible to makeup enthusiasts.
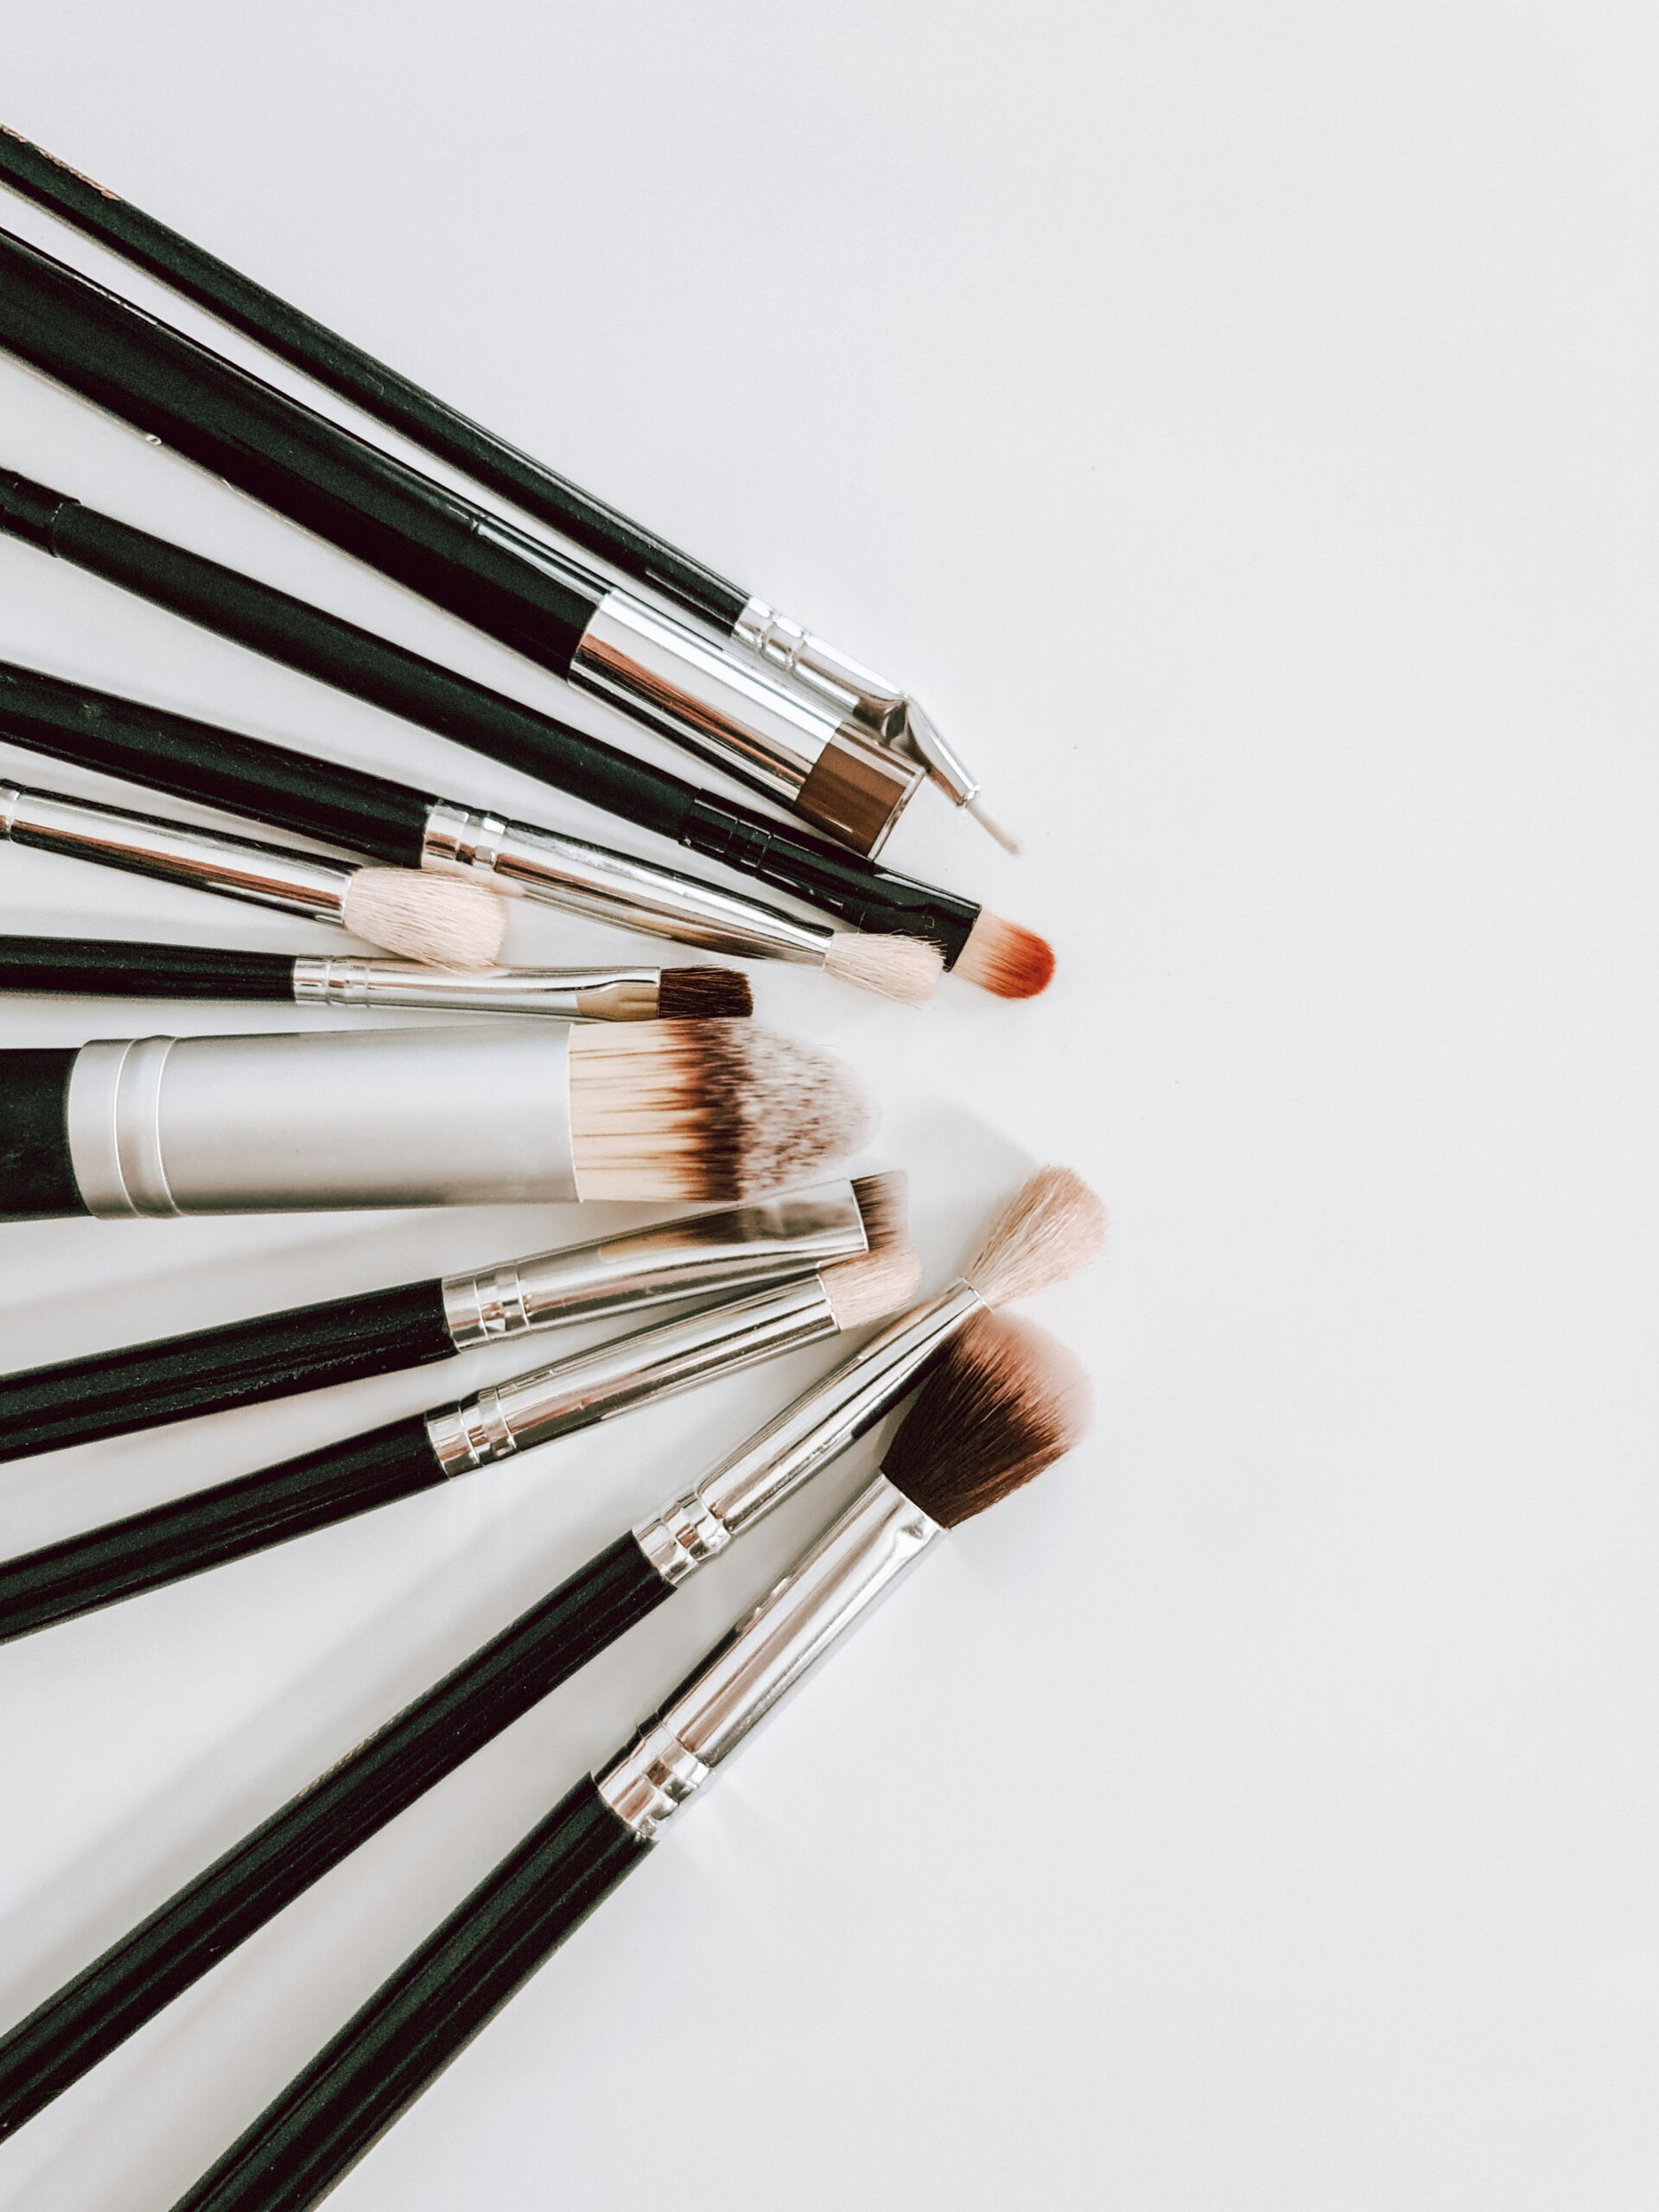
Types of Blending Brushes
Natural Hair vs. Synthetic Hair Brushes
Blending brushes are made from either natural hair or synthetic fibers. Natural hair brushes are typically made from animal hair, such as squirrel, goat, or pony hair. They are known for their softness and ability to pick up and distribute powder products evenly. Synthetic brushes, on the other hand, are made from man-made fibers like nylon or polyester. They are often preferred for liquid and cream products because they don’t absorb as much product and are easier to clean.
Various Shapes and Sizes of Blending Brushes
There are several types of blending brushes, each with a specific use.
1. Tapered Blending Brush
With a tapered tip, this brush is ideal for applying and blending eyeshadow in the crease. It allows for precise application and smooth blending, making it perfect for creating depth and dimension in eye makeup.
2. Flat Blending Brush
Featuring a flat, fluffy head, this brush excels at blending eyeshadow on the eyelid. It’s great for achieving a smooth transition between different shades, ensuring your eyeshadow looks effortlessly blended.
3. Dome-Shaped Blending Brush
This brush’s rounded, fluffy head makes it perfect for blending large areas. It’s commonly used for blending contour or bronzer, helping you achieve a natural, sculpted look with ease.
4. Pencil Blending Brush
The small, pointed tip of this brush is perfect for detailed work, such as blending eyeshadow along the lower lash line or in the inner corner of the eye. It’s ideal for precise, intricate blending.
Specialty Blending Brushes
Specialty blending brushes include duo-fiber brushes, which combine natural and synthetic fibers for a versatile application, and fan brushes, which are perfect for blending highlighter and sweeping away excess product. There are also stippling brushes, which are designed for creating a flawless, airbrushed finish with foundation.
Choosing the Right Blending Brush
Factors to Consider When Selecting a Blending Brush
When choosing a blending brush, consider factors such as the type of bristles (natural vs. synthetic), the shape and size of the brush, and the intended use. It’s also important to consider your skin type and the products you’ll be using. Choosing the right blending brush depends on several factors:
1. Consider the Bristles
Soft, synthetic bristles are ideal for sensitive skin or those who prefer cruelty-free products. Natural bristles can offer a more seamless blend but may not be suitable for everyone.
2. Handle Length
Select a handle length that feels comfortable in your hand. Longer handles offer better control, while shorter handles are more portable and convenient for travel.
3. Versatility
Opt for a brush that can be used for multiple purposes. A versatile blending brush can save you both time and money, making it a valuable addition to your makeup collection.
Top Brands for Blending Brushes
Some of the top brands for blending brushes include MAC, Sigma Beauty, Morphe, Real Techniques, and EcoTools. These brands are known for their high-quality brushes that offer excellent performance and durability. Investing in a good blending brush from a reputable brand can make a significant difference in your makeup application.
Budget-Friendly vs. Luxury Blending Brushes
Blending brushes are available at various price points, from budget-friendly options to luxury brushes. Budget-friendly brushes often offer great value and performance without breaking the bank. Brands like Elf and Real Techniques offer affordable options. Luxury brushes, such as those from Tom Ford or Sonia G, are typically made with higher-quality materials and craftsmanship, providing a more luxurious application experience.
Blending Brush Techniques
Basic Blending Techniques for Beginners
For beginners, start with simple blending techniques. Use light, circular motions to blend eyeshadow in the crease or apply a soft, sweeping motion to blend foundation. The key is to use a light hand and build up the product gradually to avoid harsh lines.
Advanced Blending Techniques for Professionals
Professionals often use more advanced techniques, such as the “windshield wiper” motion for blending eyeshadow in the crease or the stippling technique for applying foundation. These techniques require more precision and control but can achieve a flawless, professional finish.
Tips for Seamless Blending
To achieve seamless blending, ensure your brush is clean and free of excess product. Use a light touch and build up the product gradually. It’s also helpful to use a setting spray or a damp beauty sponge to help blend out any harsh lines and create a smooth, flawless finish.
Preparing Your Face for Blending
Importance of Skin Preparation
Proper skin preparation is crucial for achieving a flawless makeup look. Prepping your skin ensures that your makeup goes on smoothly and lasts longer. It also helps to create a smooth canvas for blending. Now, if you want a basic guideline on how to build a basic skincare routine, then do visit my blog “A Comprehensive Guide to Basic Skincare Routine 101” which will help you curate your skincare routine in just a few minutes.
Steps to Prep Your Skin
Start by cleansing your face to remove any dirt or oil. Follow with a toner to balance your skin’s pH and a moisturizer to hydrate your skin. Applying a primer is also essential as it creates a smooth base for your makeup and helps to fill in any fine lines or pores.
Recommended Products for Skin Preparation
Some recommended products for skin preparation include CeraVe Hydrating Cleanser, Thayers Witch Hazel Toner, Neutrogena Hydro Boost Moisturizer, and Smashbox Photo Finish Primer. These products help to create a smooth, hydrated canvas for makeup application.
Applying Foundation with a Blending Brush
Best Practices for Foundation Application
To apply foundation with a blending brush, start by dotting the foundation on your face. Use the brush to blend the foundation in circular motions, starting from the center of your face and working outward. Ensure that the foundation is evenly distributed for a smooth finish.
Common Mistakes to Avoid
Avoid using too much product at once, as this can result in a cakey appearance. Also, make sure to blend the foundation into your hairline and jawline to avoid harsh lines. Using a dirty brush can also cause streaks and uneven application.
Tips for a Flawless Finish
For a flawless finish, use a damp beauty sponge to blend out any harsh lines after applying foundation with a brush. Set your foundation with a translucent powder to ensure it stays in place all day. Using a setting spray can also help to lock in your makeup and give your skin a natural, dewy finish.
Blending Eyeshadow
Techniques for Creating Smooth Eyeshadow Transitions
To create smooth eyeshadow transitions, start with a light base color and gradually build up darker shades. Use a clean blending brush to soften any harsh lines between colors. The key is to blend, blend, and blend some more until the colors transition seamlessly.
Layering and Building Eyeshadow Colors
Layering eyeshadow colors involves applying multiple shades to create depth and dimension. Start with a light base color and gradually add darker shades to the outer corners of your eyes. Blend each layer well to ensure a smooth transition between colors.
Achieving Different Eyeshadow Looks
To achieve different eyeshadow looks, experiment with various techniques and color combinations. For a smokey eye, use dark shades and blend them outwards for a dramatic effect. For a natural look, stick to neutral shades and use a light hand to blend them softly.
Contouring and Highlighting with a Blending Brush
Basics of Contouring and Highlighting
Contouring and highlighting involve using different shades to create shadows and highlights on your face, enhancing your natural features. Contouring is done with darker shades to create depth, while highlighting uses lighter shades to bring forward areas you want to emphasize.
How to Use a Blending Brush for Contouring
To contour with a blending brush, apply a darker shade to the hollows of your cheeks, along your jawline, and around your hairline. Blend the product well to avoid harsh lines. The key is to blend until the contour looks natural and seamless.
Techniques for Highlighting
For highlighting, apply a lighter shade to the high points of your face, such as the tops of your cheekbones, the bridge of your nose, and your brow bone. Use a blending brush to diffuse the product and create a natural glow.
Blending Blush and Bronzer
Applying Blush with a Blending Brush
To apply blush with a blending brush, smile and apply the blush to the apples of your cheeks. Use a circular motion to blend the blush upward toward your temples for a natural-looking flush.
Techniques for Blending Bronzer
For bronzer, apply the product to areas where the sun naturally hits your face, such as your forehead, cheeks, and nose. Use a blending brush to blend the bronzer into your skin, creating a natural, sun-kissed look.
Tips for Natural-looking Blush and Bronzer
To achieve a natural look, use a light hand and build up the product gradually. Blending is key, so make sure to blend well to avoid any harsh lines. Using a setting spray can also help to melt the products into your skin, giving a more natural finish.
Setting Your Makeup
Importance of Setting Your Makeup
Setting your makeup is crucial to ensure it stays in place throughout the day. It helps to lock in your makeup and prevent it from smudging or fading.
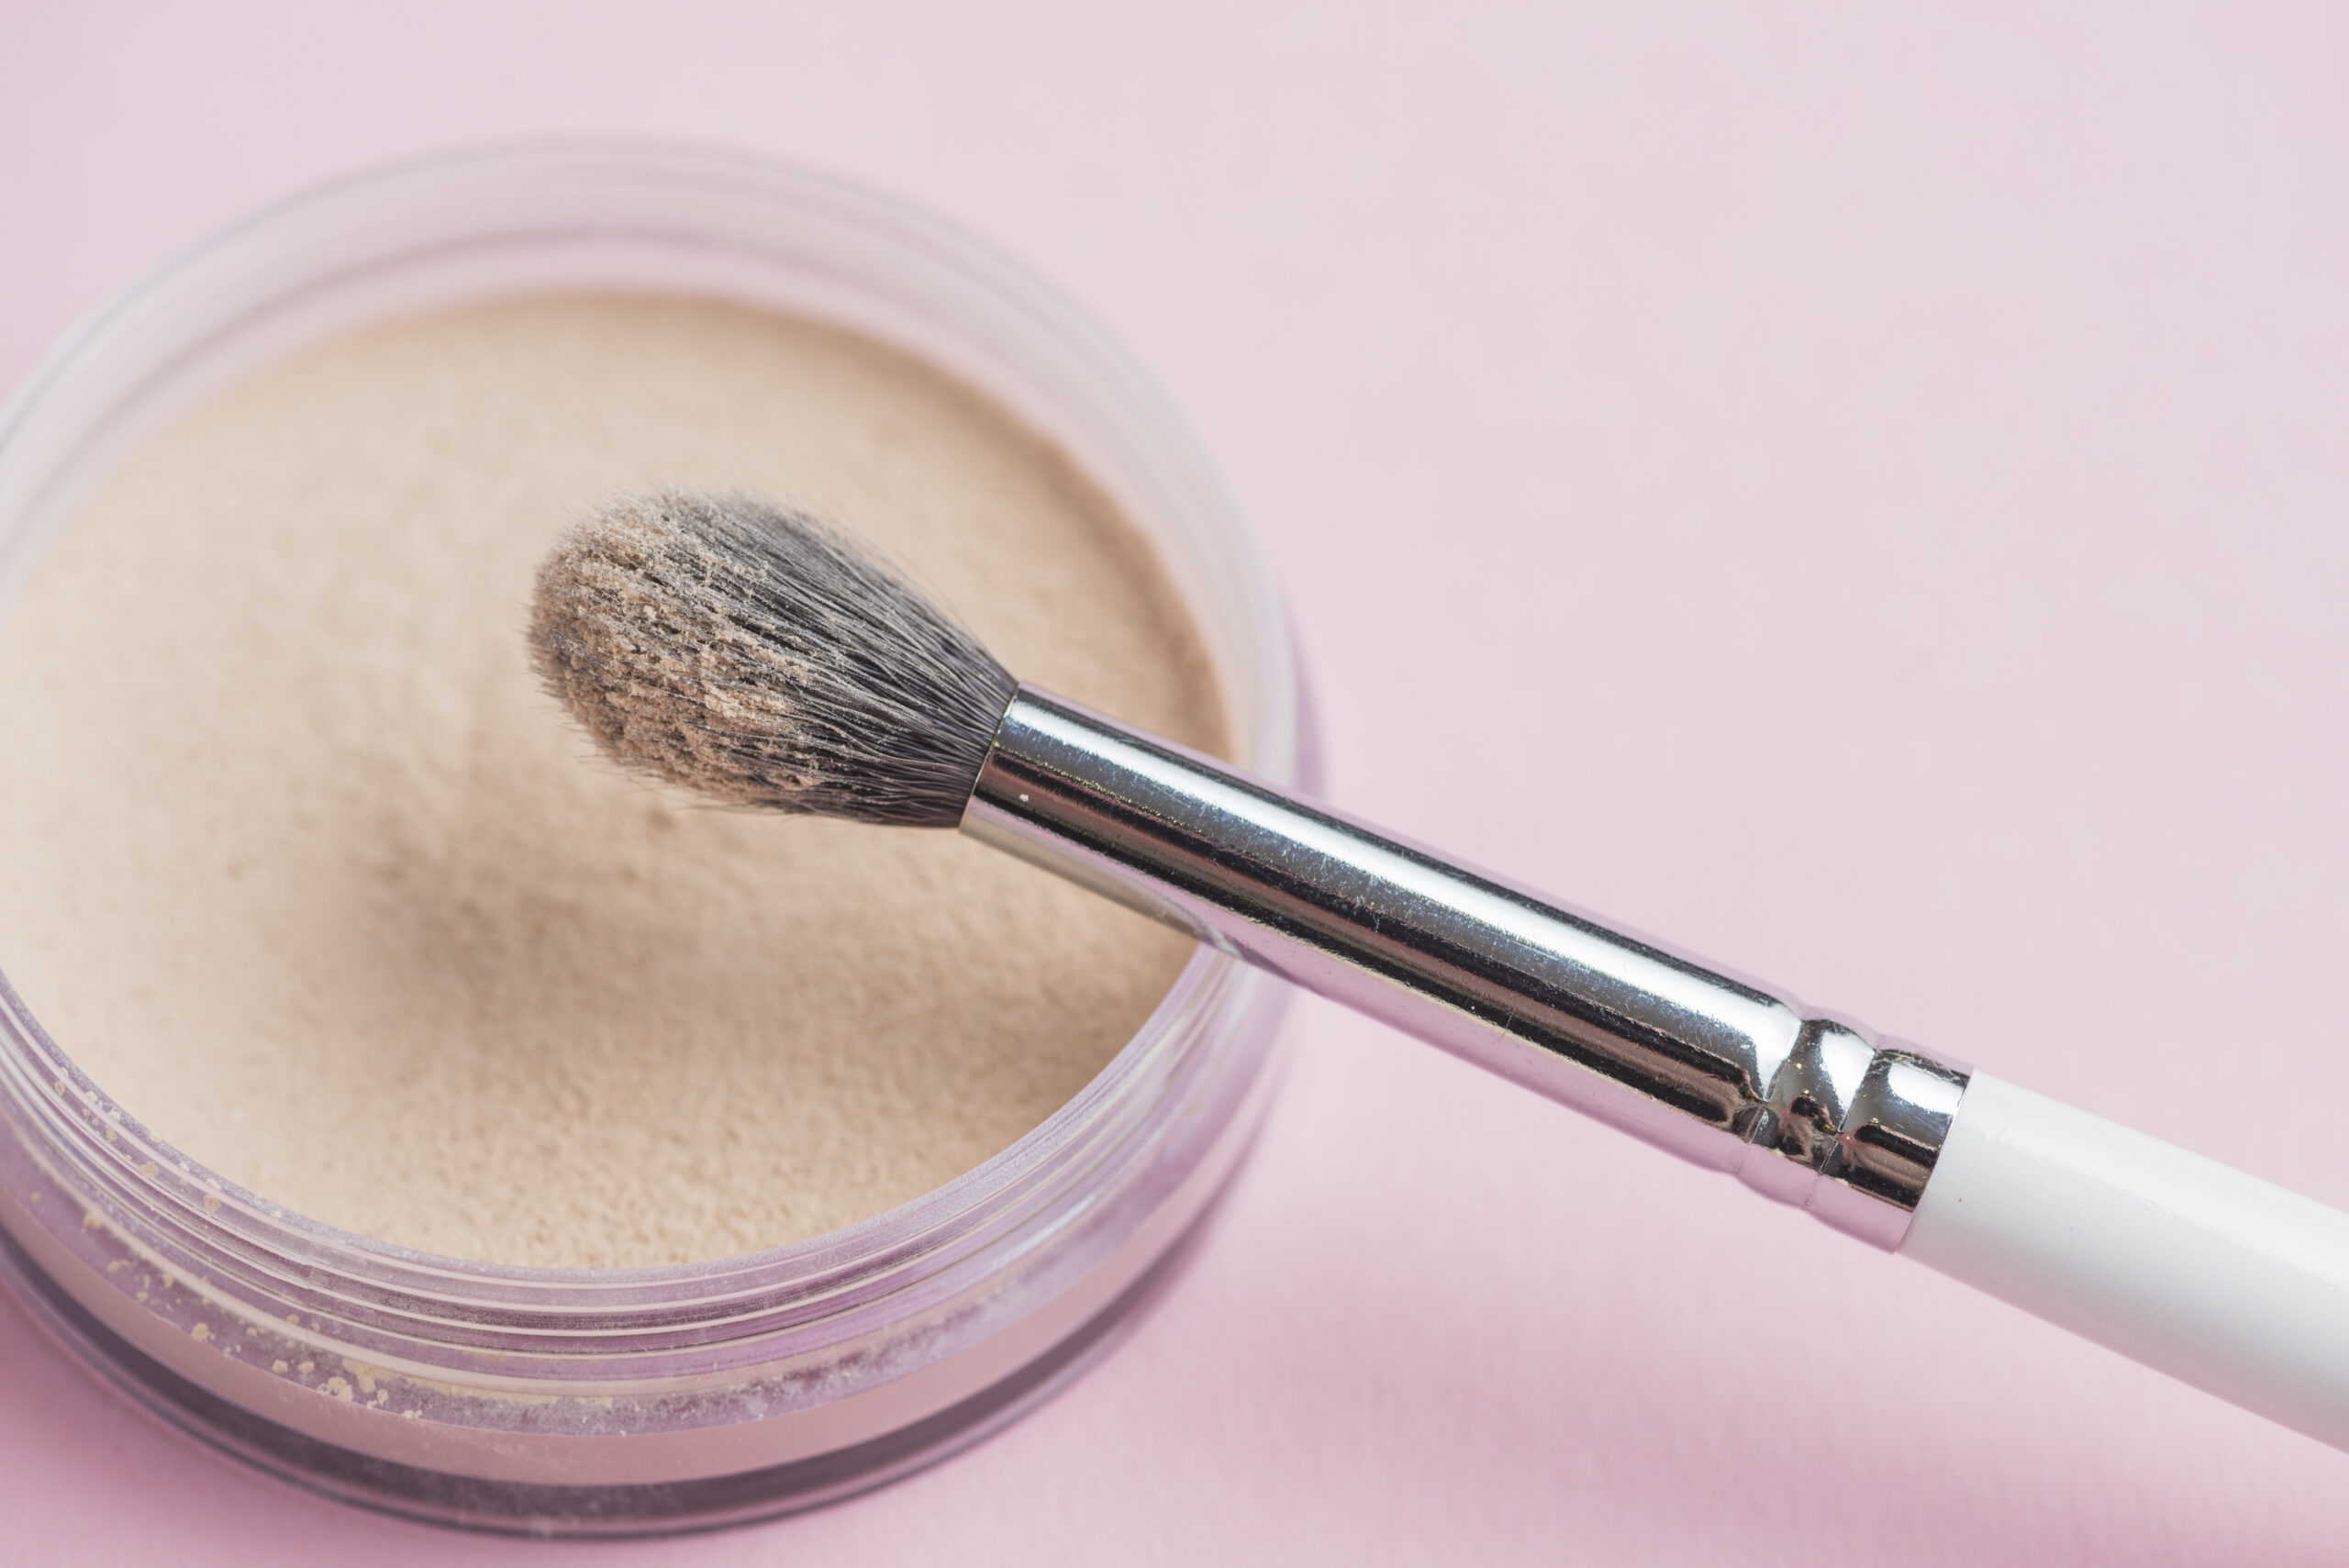
Techniques for Blending Setting Powder
To set your makeup with setting powder, use a large, fluffy blending brush to dust the powder over your face. Focus on areas that tend to get oily, such as your T-zone. Use a light hand to avoid a cakey appearance.
Cleaning and Maintaining Your Blending Brush
Why Cleaning Your Brush is Important
Cleaning your blending brush is essential to maintain its performance and prevent the buildup of bacteria, which can cause breakouts and skin irritation. Regular cleaning also helps to keep your brush in good condition, prolonging its lifespan.
Steps for Cleaning a Blending Brush
To clean your blending brush, wet the bristles with lukewarm water. Apply a gentle brush cleaner or mild soap and work it into a lather. Rinse the bristles thoroughly and gently squeeze out excess water. Reshape the brush and let it air dry flat or with the bristles hanging off the edge of a counter.
How Often to Clean Your Brush
For brushes used with liquid or cream products, it’s recommended to clean them after each use. For brushes used with powder products, cleaning them once a week should suffice. Regular cleaning helps to maintain the brush’s performance and hygiene.
Storing Your Blending Brush
Best Practices for Brush Storage
Store your blending brushes in a dry, clean place to prevent damage and contamination. Using a brush holder or case can help keep the bristles in shape and protect them from dust and dirt.
Products to Help Maintain Brush Shape
Brush guards or mesh covers can help maintain the shape of your blending brushes. These products help to keep the bristles in place and prevent them from splaying out.
Travel Tips for Blending Brushes
When traveling, use a brush case or roll to protect your blending brushes. Make sure to pack them securely to prevent damage during transit. It’s also a good idea to bring a small bottle of brush cleaner for on-the-go cleaning.
Common Blending Brush Mistakes
Identifying Common Mistakes
Common blending brush mistakes include using too much product, not blending enough, and using a dirty brush. These mistakes can result in a cakey, uneven makeup application.
How to Correct Blending Brush Errors
To correct blending brush errors, use a clean brush to blend out any harsh lines. If you’ve applied too much product, use a damp beauty sponge to absorb excess product and blend it out. Regularly cleaning your brushes can also help prevent errors caused by a buildup of product.
Preventing Future Mistakes
To prevent future mistakes, practice proper blending techniques and take your time to blend well. Using the right tools and keeping your brushes clean can also help ensure a flawless makeup application.
Conclusion
Blending brushes are essential tools for achieving a flawless makeup look. By understanding the different types of blending brushes, how to choose the right one, and mastering various techniques, you can elevate your makeup application skills. Remember to prep your skin, blend well, and maintain your brushes for the best results. With practice and experimentation, you’ll become a pro at using blending brushes to create stunning makeup looks.